Image Upload Guide for AWS & Convert Tool
This document explains three methods for uploading and managing images:
- Uploading images on AWS (S3 + CloudFront)
- Uploading images using the Convert Tool (Manual)
- Uploading images using AI (OptiPhoenix MCP Server)
1. Uploading Images on AWS (S3 + CloudFront)
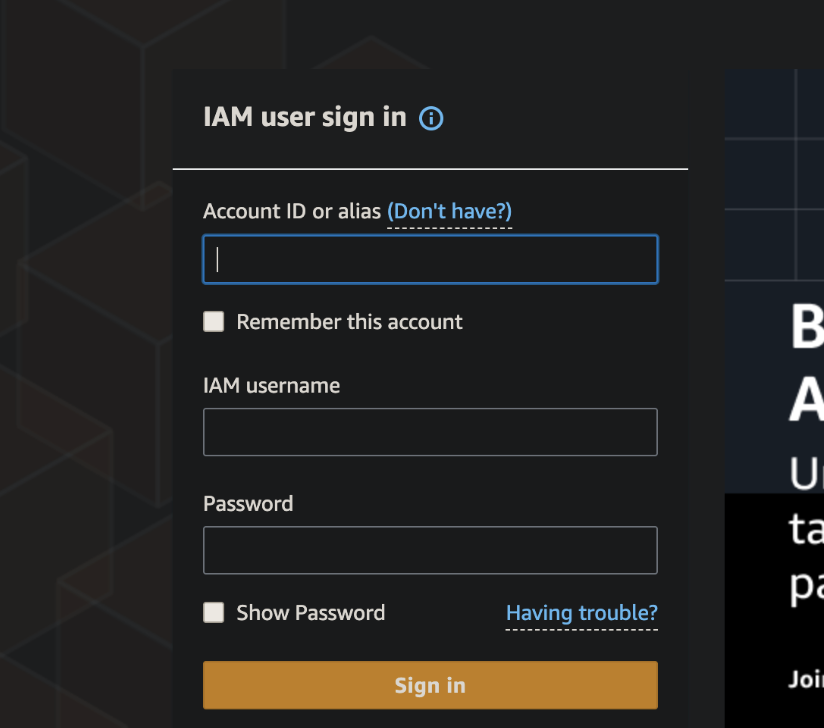
Step 1: Log in to AWS
Go to the AWS console and sign in using your credentials.
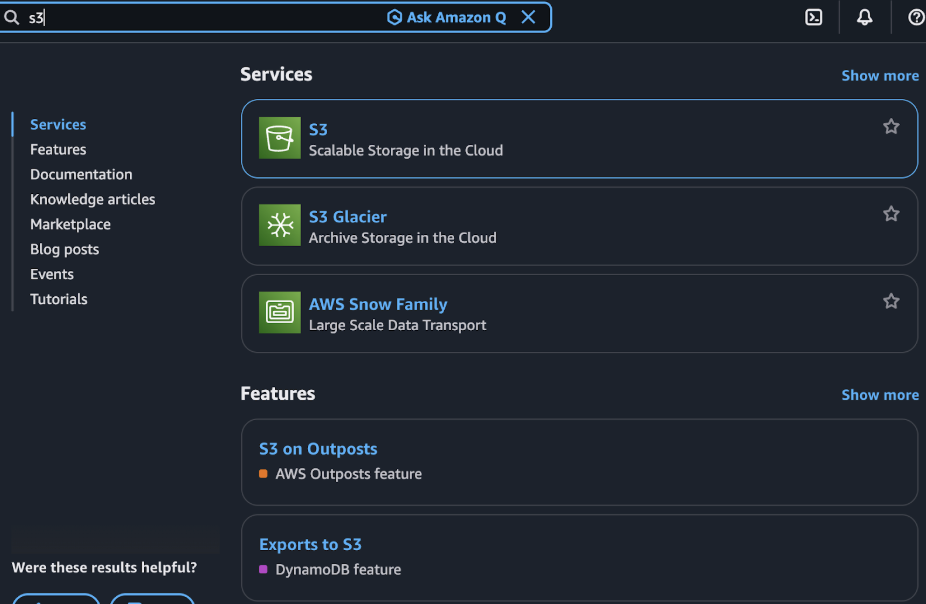
Step 2: Open S3
From the AWS dashboard, search for S3 and click to open it.
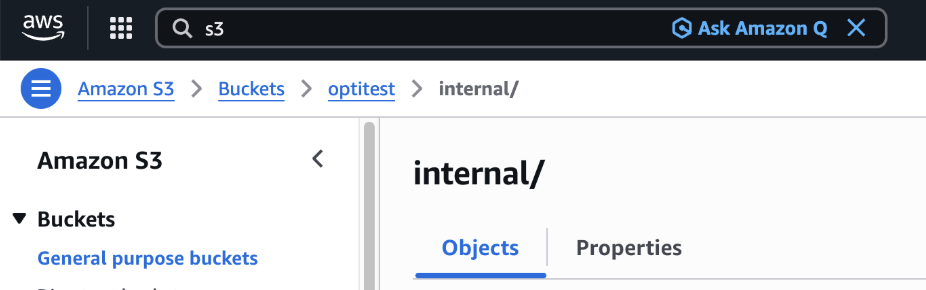
Step 3: Open the Specific Project Folder
Navigate through your buckets and open the project folder where you want to upload your image.
Step 4: Create a Folder if Required or Upload Directly

Step 5: Understand S3 URL vs CloudFront URL
After uploading, AWS S3 will show you an image URL.
Example S3 URL:
https://your-bucket.s3.amazonaws.com/project/image.jpg
Why?
- We deliver all assets via CloudFront CDN, not directly from S3
- CloudFront acts as a “public-facing layer” in front of S3
Step 6: Form the Final CloudFront URL
CloudFront Base URL:
https://d1tlat4viuuqgt.cloudfront.net
Example:
- S3 path:
/project/image.jpg - Final CloudFront URL:
https://d1tlat4viuuqgt.cloudfront.net/project/image.jpg
2. Uploading Images Using the Convert Tool (Manual Upload)
Follow these steps when uploading images using the Convert Tool.
Step 1: Open the Specific Project & Test
Navigate to the exact project and the test you are working on.
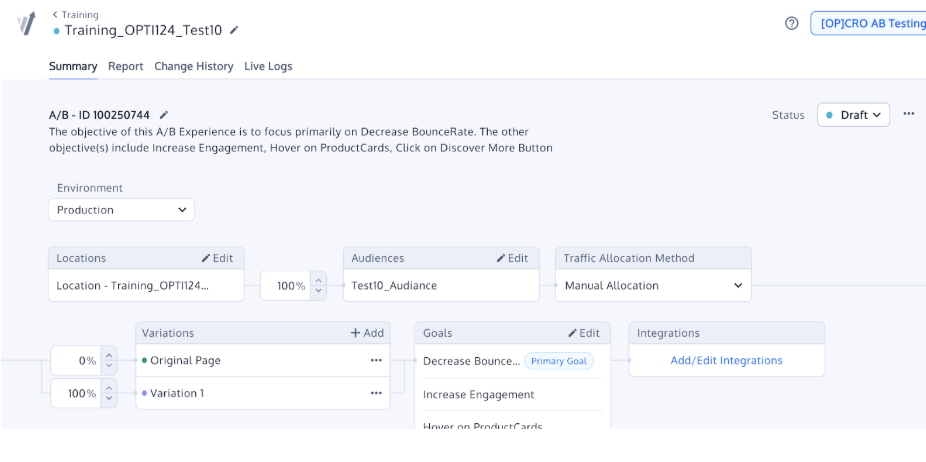
Step 2: Open in Edit View
Click on the test to open it in Visual Editor View.
Step 3: Select Any Element (Temporary Placeholder)
Choose any element in the editor—this is only used to access the image upload option.
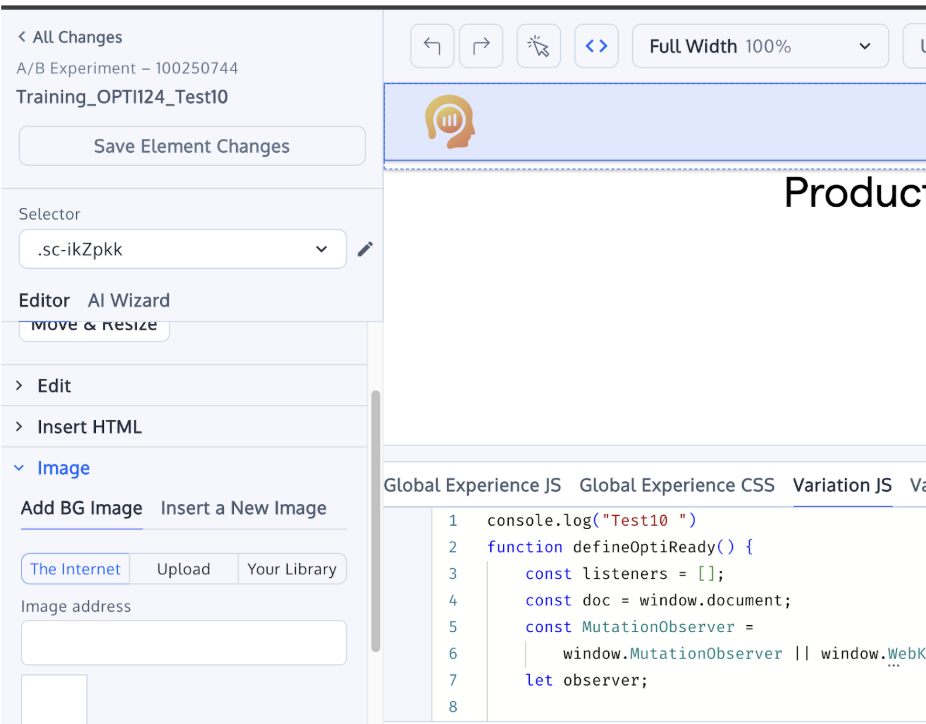
Step 4: Upload the Image
Use the image upload option (usually inside an image field) and upload your file.
Step 5: Get the Image URL
Once uploaded, Convert Tool stores the image and provides a public URL. Copy this URL for your use.

Step 6: Remove the Image from the Editor
The image remains uploaded in the system even after removal.
Step 7: Use the URL in Your Test/Project
Paste the image URL wherever needed in your code or configuration.
3. Uploading Images Using AI (OptiPhoenix MCP Server)
This method allows automated image uploads to Convert using the OptiPhoenix MCP server, enabling image handling without manually opening the editor.
Upload Request Format
Use the following structured format when sending the upload request:
upload image to convert for
account_id: ""
project_id: ""
image_path: ""
image_name: ""
Field Details
| Field | Description |
|---|---|
account_id |
Your Convert platform account ID |
project_id |
The ID of the specific Convert project where the image should be uploaded |
image_path |
Full file path of the image (local path) |
image_name |
The name you want the image to be saved as in Convert |
Response
The OptiPhoenix MCP server will return:
- A publicly accessible image URL hosted by Convert
- Upload confirmation details (metadata, status)
✅ Use the provided URL in your tests or code exactly the same way you would use manually uploaded Convert images.
Summary
| Method | Use Case | Output |
|---|---|---|
| AWS S3 + CloudFront | Static assets for production | CloudFront CDN URL |
| Convert Tool (Manual) | Quick uploads during test creation | Convert hosted URL |
| OptiPhoenix MCP (AI) | Automated/programmatic uploads | Convert hosted URL |
💡 Pro Tip: Always use CloudFront URLs for AWS uploads, not direct S3 URLs, to ensure proper CDN delivery and performance.