Overview
Setting up a custom campaign in Dynamic Yield is easy. You can read more about it in the official documents. You can also directly read about event APIs provided by Dynamic Yield.
Dynamic Yield provides us a lot of ways to activate a campaign like on Page load, after some Time on page, with Exit Intent on desktop, after an Event is triggered, or a combination of them. But what about other scenarios not provided by Dynamic Yield? How do we create our own custom activation? How do we activate a campaign using custom JavaScript code?
Campaign setup
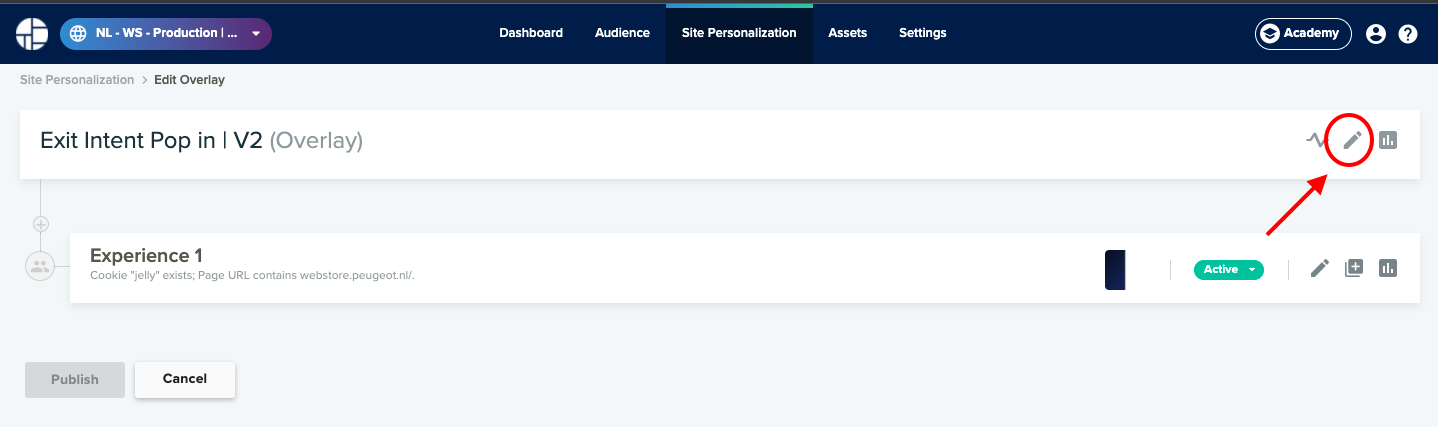
Before coding our activation, let’s setup the campaign we need to activate on our custom trigger. After you open the campaign (or site personalization), click on edit as shown below.
Now you’ll see all the trigger options Dynamic Yield provides as shown below.
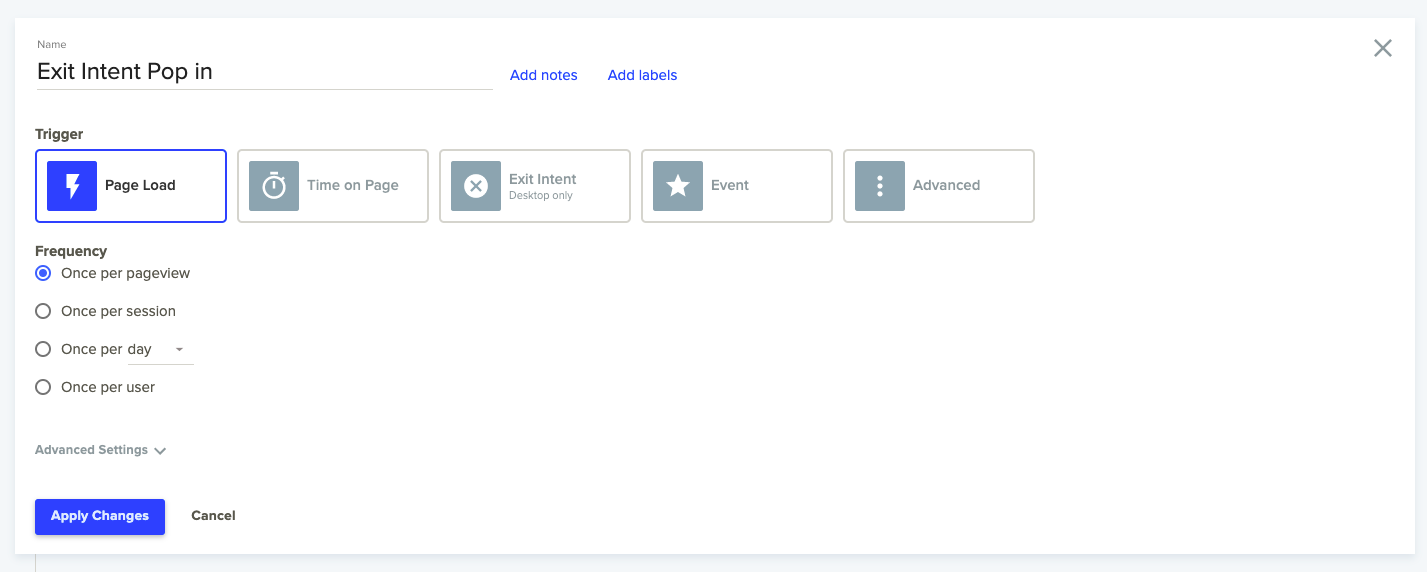
For custom activation, we’ll utilise the Event trigger functionality provided by DY. Click on the Event trigger option and add a custom event name. On trigger of an event with this name, this campaign will be activated.
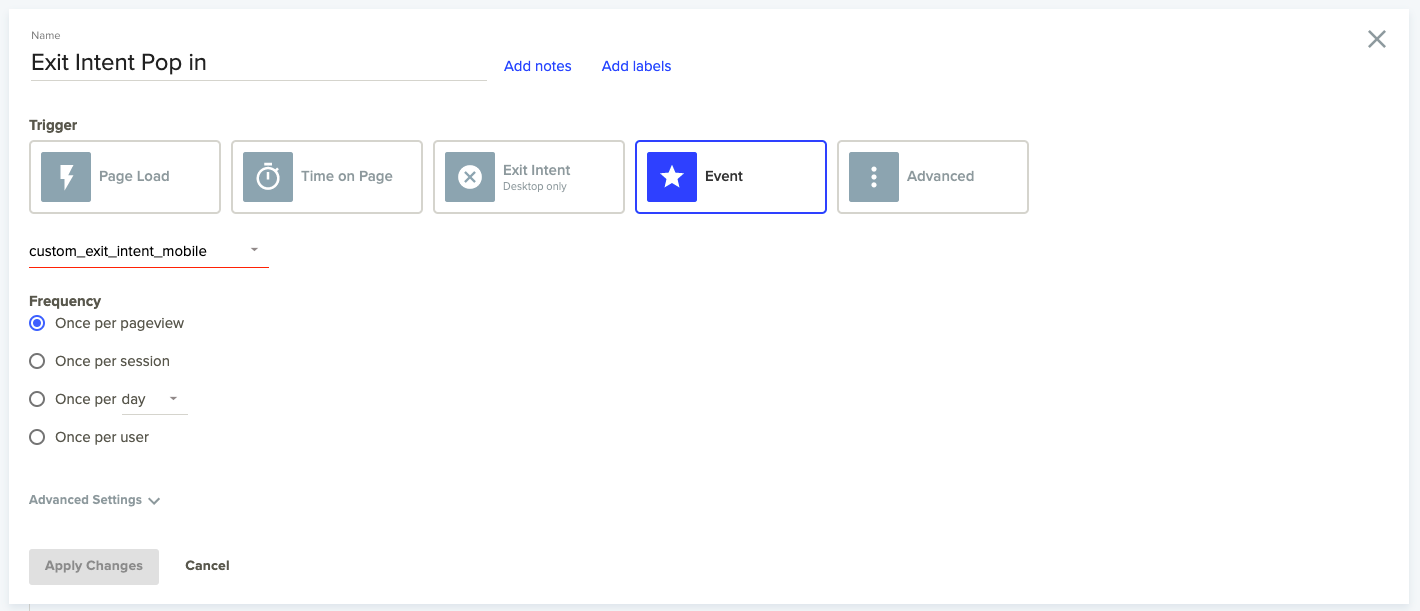
Now just apply these changes and save the campaign.
You can also combine the custom event triggers with other trigger conditions by selecting Advanced as shown below.

Trigger Custom Activation
Now to activate our main campaign, we just need to use the following API by replacing the “EVENT_NAME” with the custom event name we used in the above setup:
window.DY.API("event", { name: "EVENT_NAME" });
You can create your own JavaScript logic now and activate the campaign using the above trigger. But where do we add this JS code? In other tools like optimizely, we have the option to add this JS code directly in the global script. However, in Dynamic Yield, we don’t have a global code so instead of that, we’ll create a new custom campaign in addition to the already created main campaign, just to check the activation conditions and trigger the campaign.
Now it becomes really simple. Here are the steps you need to follow:
- Go to the site personalization page.
- Create a new campaign.
- Click on “Custom Code” campaign type.
- Make sure to name the campaign appropriately so that you can differentiate between the activation campaign and the main campaign.
- Make sure to choose Page Load trigger for this activation campaign.
- Add an experience with the same targeting as the experience in the main campaign so that this activation campaign only runs on the pages the main campaign is supposed to run on.
- Add a variation and allocate 100% of the traffic to it.
- Edit the variation and in the JS tab, simply paste your JS code to check conditions and trigger the custom event.
- You can test both the campaigns by pushing them live on a cookie (you can add that in targeting under WHO?), and then changing the status of both to active.
Example Code Trigger
Here’s an example code for the custom event trigger after variable seconds of inactivity by the user:
(function () {
    var countdown;
    var waitTime = parseInt('${Inactivity Time}', 10);

    function triggerExitIntent() {
        window.removeEventListener('scroll', setTimer, 'true');
        document.removeEventListener('mousedown', setTimer, 'true');
        document.removeEventListener('mousemove', setTimer, 'true');
        document.removeEventListener('touchstart', setTimer, 'true');
        document.removeEventListener('keypress', setTimer, 'true');
        // trigger
        console.log('Exit Intent triggered due to inacitivity');
        window.DY.API("event", { name: "${Inactivity Event Name}" });
    }

    function setTimer() {
        clearTimeout(countdown);
        countdown = setTimeout(function () {
            triggerExitIntent();
        }, waitTime * 1000);
    }

    window.addEventListener('load', setTimer);
    window.addEventListener('scroll', setTimer, 'true');
    document.addEventListener('mousedown', setTimer, 'true');
    document.addEventListener('mousemove', setTimer, 'true');
    document.addEventListener('touchstart', setTimer, 'true');
    document.addEventListener('keypress', setTimer, 'true');
}());